Non-destructive testing vs. destructive testing methods: a comparison of material testing methods
In industrial quality control, both non-destructive testing and destructive testing methods are used for material testing, depending on product requirements, customer and standard specifications, and economic conditions. Both methods have their merits, but they pursue different goals and differ significantly in terms of complexity, cost, and application.
In this article, we take a practical look at both testing methods, their respective advantages and disadvantages, and provide a basis for deciding on the right testing service provider.
What are non-destructive tests?
Non-destructive testing (NDT) enables the evaluation of materials, components, or welds without damaging the test specimen. They are mainly used when the tested part is to be reused or installed.
Depending on the quality requirements and economic conditions, non-destructive testing can be used flexibly, from random sampling to 100% testing of all components.
No rejects, no material loss – and at the same time high informative value about surface and internal defects.
Typical methods are:
- Magnetic particle testing (MT): Magnetization of the workpiece + iron powder makes cracks on the surface clearly visible.
- Visual inspection (VT): Visual inspection with or without a camera – for detecting obvious surface defects.
- Ultrasonic testing (UT): Sound waves are directed into the component. Reflections reveal internal cracks or inclusions.
- X-ray or radiographic testing (RT): High-energy rays penetrate the material. Defects become visible on images.
- Eddy current testing (ET): Electric currents detect differences in conductivity and surface defects.
- Dye penetration testing (PT): A colored penetrant makes fine, surface-open cracks visible – especially on smooth, non-porous materials.
EuroQ carries out MT and VT testing at its Sindelfingen site, among other locations.
What happens during destructive testing?
In contrast, destructive testing (DT) involves subjecting the test samples to mechanical or chemical stress until they break or fail. The aim is to make statements about the load-bearing capacity, strength, or material behavior.
Since the tested component becomes unusable, destructive testing is usually only carried out on a random basis. It is therefore particularly suitable for validation, material approval or for investigating specific load limits.
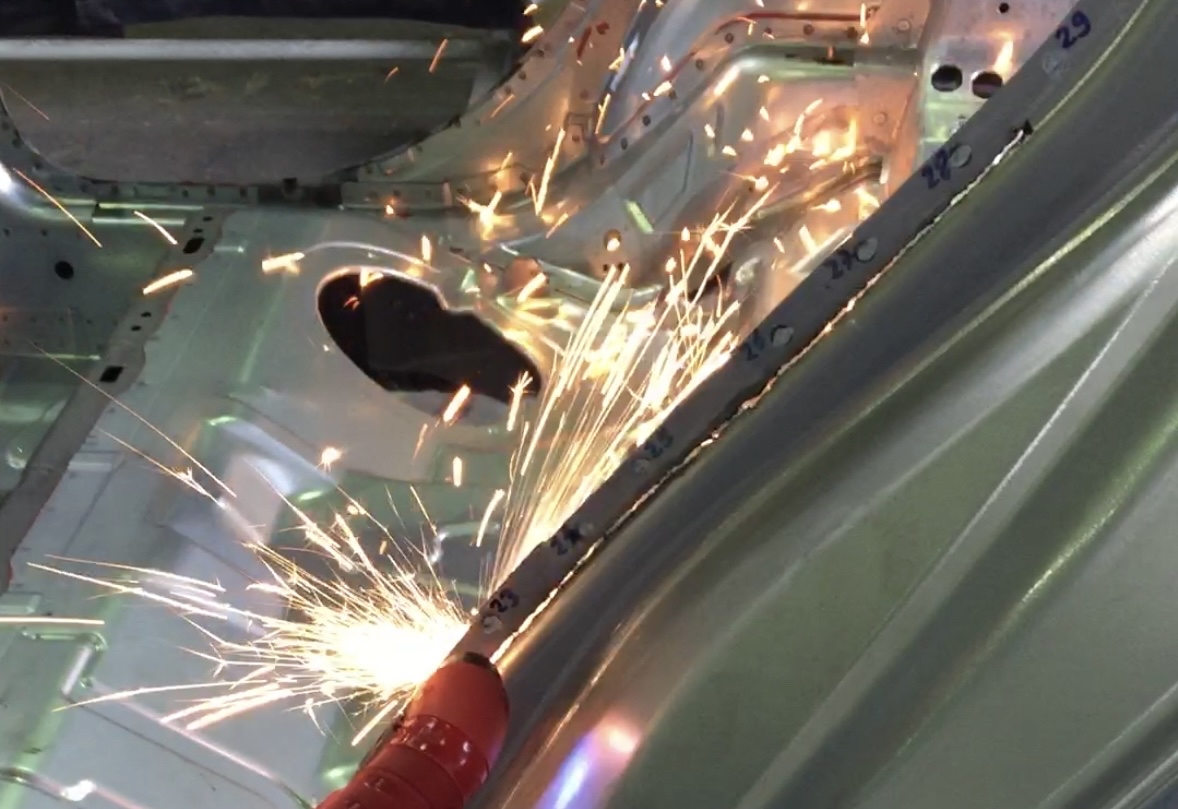
View of a destructive test of weld points on a car body


Typical procedures for destructive testing methods
- Tensile test: Determines the strength of a material by pulling it until it breaks.
- Compression and bending test: Shows how materials deform or break under pressure or bending.
- Notch impact test: Measures the toughness of a material under sudden stress.
- Hardness test: Measures resistance to penetration – important for wear and service life.
- Metallographic examination: Shows the internal structure of the material – e.g., grain structure, inclusions, or heat treatment condition.
Destructive testing provides precise data on material behavior under extreme conditions, but involves higher costs in random sample comparisons due to the loss of the test piece.
Cost-effectiveness and efficiency
In series production, non-destructive testing is the first choice, especially when high quantities and reusability are paramount. In material development or prototype testing, however, destructive testing is often indispensable.
In addition, the choice of test method is often influenced by the end customer’s specifications. In many cases, requirements regarding the type and depth of the test are already specified in the specifications or technical drawings – especially in the OEM environment.
For many companies, economic and organizational feasibility also play a key role in the choice of a test method.
Non-destructive testing by external service providers?
This can offer advantages, particularly in terms of flexibility and traceability:
- Testing on site or at external facilities: Depending on the project requirements, testing can be carried out either directly at the production site or at a separate testing facility belonging to the service provider.
- Testing processes with trained specialist personnel: The tests are carried out by qualified personnel, particularly in the case of complex geometries or specific fault patterns.
- Digital documentation and traceability: With a service provider such as EuroQ, every defect identified is recorded in a digital application (EuroQ app) for each specific component. This creates a structured defect history that can be used for quality control and further analysis. This approach enables transparent and systematic evaluation of component quality.
Combination of both methods
In some cases, it makes sense to combine both testing methods. For example, destructive testing can be used to validate limit values before exclusively non-destructive testing is carried out in series production.
Important criteria when selecting a testing service provider
When working with an external partner in the field of materials testing and quality control, it is not only technical skills that play a role, but also methodological expertise and organizational flexibility.
The following criteria can be helpful in making your selection:
- Experience with the best testing method for the job: The service provider should have in-depth knowledge and practical experience in the specific type of testing required for the component or process.
- Use of modern testing technology: Access to suitable and reliable equipment contributes significantly to the validity and efficiency of the tests.
- Qualified and certified personnel: Tests should be carried out by specialists with appropriate qualifications, e.g., in accordance with DIN EN ISO 9712.
- Adaptability to different test volumes: Services should be scalable—both for individual tests and larger series—and can be flexibly integrated into existing processes.
A service provider with well-trained employees can thus make an important contribution to process and product safety – regardless of the industry or vertical integration.
Conclusion
Non-destructive and destructive testing methods both have their place in industrial quality control. The choice depends largely on the objective, the test object, and economic efficiency.
An experienced quality service provider can support you with the testing procedures – with technical expertise, practical advice, and adaptable solutions for different application scenarios. This allows you to combine product safety and cost-effectiveness in a targeted manner.
FAQs on destructive vs. non-destructive testing
What is the main advantage of non-destructive testing?
Components remain undamaged and can be reused immediately – ideal for everything from random sampling to series production.
Are non-destructive tests reliable?
Yes, when carried out correctly, they offer a very high fault detection rate – faults are often even documented digitally for each individual component.
When are destructive tests necessary?
When it comes to material properties, load-bearing capacity, or product development—especially with new materials.
How do I find the right service provider?
Look for experience, certifications, modern technology, and flexibility in project implementation.
